How to Make Grape Juice: 5 Easy Methods With or Without a Juicer
There's nothing quite like the refreshing, vibrant taste of homemade grape juice. Forget the store-bought varieties that often contain added sugars and preservatives; making your own allows you to control the ingredients, savor the natural sweetness, and enjoy a truly wholesome beverage. Whether you're looking for a quick morning pick-me-up, a healthy alternative for your kids, or a way to utilize an abundance of fresh grapes, crafting grape juice at home is a simple and rewarding process. And the best part? You don't even need a fancy juicer to get started! This comprehensive guide will walk you through five easy methods, ensuring you can enjoy delicious grape juice regardless of your kitchen equipment.
Why Make Homemade Grape Juice?
Beyond the sheer delight of its flavor, homemade grape juice offers a myriad of benefits:
*
Unbeatable Freshness: Experience the true taste of grapes, free from artificial flavors or concentrates.
*
Nutrient Powerhouse: Grapes, especially darker varieties, are packed with antioxidants, vitamins (like Vitamin C and K), and minerals. Making your own juice preserves these vital nutrients.
*
Control Over Ingredients: Choose organic grapes, adjust the sweetness to your liking, and avoid unwanted additives.
*
Cost-Effective: When grapes are in season and plentiful, making your own juice can be significantly cheaper than buying commercial brands.
*
Sustainable: A great way to use up grapes that are perfectly ripe or slightly past their prime for snacking, preventing food waste.
Choosing the Best Grapes for Juicing
The type of grape you choose significantly impacts the flavor and color of your homemade juice. While almost any grape can be juiced, some varieties truly shine:
*
Concord Grapes: Often considered the quintessential juicing grape, Concords are known for their deep purple color, robust "foxy" flavor, and high antioxidant content. They yield a rich, sweet juice that many associate with classic grape juice.
*
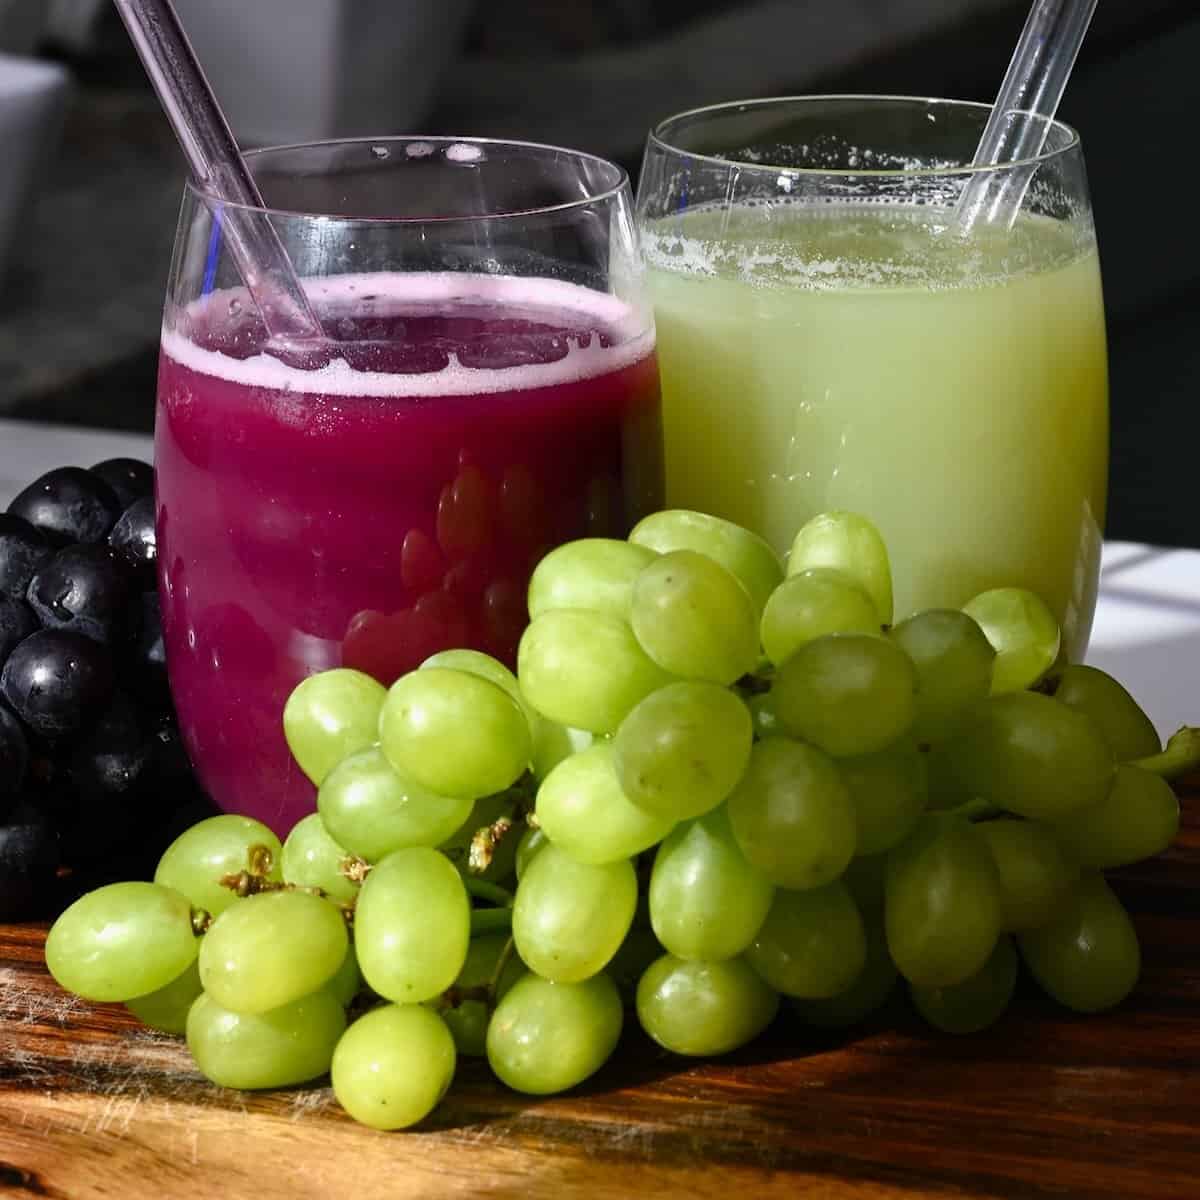
Purple Grapes (General): Varieties like Niagara (often light purple/green but sometimes categorized with purples) and other dark-skinned grapes are excellent. Their vibrant color often signifies a high concentration of beneficial compounds.
*
Green Grapes: If you prefer a tangier, brighter flavor profile, green grapes like Thompson Seedless or Niagara (when pale green) are a fantastic choice. They are also high in Vitamin C.
*
Muscadine Grapes: A native North American grape, Muscadines offer a unique, musky, and intensely flavorful juice. They are rich in antioxidants and often thicker-skinned.
For the best flavor, always look for grapes that are ripe, plump, and have a deep, consistent color. Avoid grapes that are shriveled, soft, or show signs of mold. Remember to always remove the stems and leaves before juicing, as they can impart a bitter taste to your finished product. For a deeper dive into grape varieties and their unique contributions to juice, explore our article on
Best Grapes for Juicing: Unlock Peak Flavor & Health Benefits.
Essential Tools for Homemade Grape Juice
While some methods require specific gadgets, you likely already have most of what you need. Here's a general list, but remember, you won't need everything for every method:
* Fresh Grapes (quantity depends on desired yield)
* Juicer (for Method 1)
* Blender or Food Processor (for Method 2)
* Large Pot with Lid (for Method 3 & 4)
* Potato Masher or Sturdy Spoon (for Method 3)
* Fine-Mesh Sieve, Cheesecloth, or Nut Milk Bag (for straining)
* Large Bowls or Pitchers
* Mason Jars or Bottles (for storage)
* Steam Juicer (for Method 4, optional)
5 Easy Methods: How to Make Grape Juice
Ready to transform those juicy grapes into a delightful beverage? Let's dive into the methods!
Method 1: Using a Juicer (Quick & Efficient)
This is undoubtedly the fastest way to get fresh grape juice.
1.
Prepare Grapes: Remove grapes from stems. Rinse thoroughly under cold water to clean off any dirt or debris.
2.
Feed into Juicer: For most juicers, you can feed whole grapes (seedless varieties are easiest). If using seeded grapes, some prefer to halve them or remove seeds beforehand, though most juicers handle seeds well, separating them from the pulp.
3.
Collect Juice: The juicer will separate the juice from the pulp almost instantly.
4.
Serve: Enjoy immediately, perhaps over ice, or store in an airtight container in the refrigerator for up to 3-5 days.
Tip: While juicing, don't overload your machine. Feed grapes at a steady pace to ensure maximum juice extraction and prevent clogging.
Method 2: The Blender Method (No Juicer Needed)
A fantastic alternative if you don't own a juicer, producing a slightly thicker juice with more pulp.
1.
Prepare Grapes: Destem and wash your grapes thoroughly.
2.
Blend: Place the clean grapes into a high-speed blender. Add about 1/4 to 1/2 cup of water per 4 cups of grapes to help with blending, especially if your grapes aren't super juicy. Blend until smooth.
3.
Strain: This is the crucial step. Place a fine-mesh sieve over a large bowl. Line the sieve with cheesecloth (several layers) or a nut milk bag. Pour the blended grape mixture into the lined sieve.
4.
Extract Juice: Allow the juice to drip naturally for a few minutes. Then, gather the edges of the cheesecloth or nut milk bag and squeeze firmly to extract all the remaining juice. Discard the pulp.
5.
Serve: Chill and enjoy your pulpy, rich grape juice!
Tip: For a smoother juice, strain twice. The pulp can be used in compost or even baked goods if desired.
Method 3: Stovetop Simmer (Classic & Effective)
This traditional method extracts a significant amount of juice, often yielding more than blending, and is perfect for large batches.
1.
Prepare Grapes: Destem and wash grapes. You don't need to cut them.
2.
Simmer: Place grapes in a large pot. Add just enough water to cover the bottom of the pot (about 1/2 inch, preventing scorching). Bring to a boil, then reduce heat to a simmer. Cover and cook for 15-20 minutes, or until the grapes have burst and released their juices.
3.
Mash: Using a potato masher or a sturdy spoon, gently mash the grapes in the pot to release any remaining juice from the pulp.
4.
Strain: Set up a fine-mesh sieve lined with cheesecloth (or a nut milk bag) over a large heatproof bowl or another pot. Carefully pour the hot grape mixture into the sieve.
5.
Extract Juice: Let the juice drip through. Once it has cooled enough to handle, gather the cheesecloth and squeeze out every last drop of juice.
6.
Sweeten (Optional): Taste the juice. If desired, return the juice to a clean pot, add sugar to taste (start with 1/4 cup per gallon), and heat gently until sugar dissolves.
7.
Store: Let cool completely before transferring to airtight bottles or jars. Refrigerate for up to a week, or consider canning for longer storage.
Method 4: Steam Juicer (Hands-Off & High Yield)
If you have a steam juicer, this method is incredibly efficient and results in beautifully clear juice without much effort or additional straining.
1.
Assemble Juicer: Follow your steam juicer's instructions. Typically, you fill the bottom pot with water, place the juice collection pot on top, and then the fruit basket on top of that.
2.
Prepare Grapes: Destem and wash your grapes. Place them in the perforated fruit basket of the steam juicer. You can fill it quite full.
3.
Steam: Bring the water in the bottom pot to a boil, creating steam that rises through the grapes. The steam extracts the juice, which then collects in the middle pot.
4.
Collect Juice: As the juice collects, it will flow out through a spigot. You can either continuously drain it into sterilized jars or wait until the process is complete.
5.
Cool & Store: Once cooled, the juice is ready to drink or can be canned for long-term storage.
Benefit: Steam juicers produce juice that is often clearer and requires no further straining, making it ideal for canning as well.
Method 5: No-Cook Canning (Long-Term Storage & Unique Flavor)
This ingenious method, often favored for Concord grapes, allows the grapes to release their juice over time, resulting in a rich, deeply flavored concentrate perfect for diluting later. It also requires no peeling or cooking of the grapes themselves!
1.
Prepare Jars: Sterilize pint or quart Mason jars and their lids.
2.
Prepare Grapes: Thoroughly wash and destem your Concord grapes.
3.
Fill Jars: Pack the grapes tightly into the sterilized jars, leaving about 1-inch headspace.
4.
Add Sugar: For pint jars, add 1/4 cup of sugar. For quart jars, add 1/2 cup of sugar.
5.
Add Boiling Water: Carefully pour boiling water over the grapes and sugar, filling the jars to the 1-inch headspace.
6.
Seal & Process: Remove any air bubbles, wipe rims clean, center lids, and apply bands until fingertip tight. Process the jars in a boiling water bath canner according to USDA guidelines for your altitude (typically 20-30 minutes for pints/quarts).
7.
Cool & Rest: Remove jars and let them cool completely on a towel on the counter. Once sealed, the magic begins! Store the jars in a cool, dark place for at least 3 months. This resting period allows the grapes to fully release their juice and the flavors to meld beautifully.
8.
Serve: When ready to enjoy, open a jar, strain out the grapes (which will be shriveled), and dilute the concentrated juice with water to your preferred strength. You can learn more about this specific method in our guide on
Make Grape Juice Without Cooking: Easy Canning Recipe.
Tips for the Tastiest Homemade Grape Juice
*
Always Wash Grapes: Even if organic, a good rinse removes dirt, pesticides, and other residues.
*
Chill Thoroughly: Homemade grape juice is best served ice-cold.
*
Adjust Sweetness: Grapes vary in sweetness. Taste your juice before adding any sugar. If using sugar, dissolve it completely while the juice is slightly warm. You can also use honey, maple syrup, or a natural sweetener.
*
Mix Varieties: Don't be afraid to combine different types of grapes for a more complex flavor profile. A mix of sweet Concords and tangy green grapes can be delightful.
*
Storage: Freshly made grape juice (not canned) should be stored in an airtight container in the refrigerator and consumed within 3-5 days. For longer storage, consider freezing it in ice cube trays or freezer-safe containers, or explore canning methods.
Conclusion
Making your own grape juice is a simple pleasure that connects you directly to the bounty of nature. With these five easy methods, you're empowered to create a delicious, healthy, and incredibly satisfying beverage right in your own kitchen. Whether you prefer the speed of a juicer, the simplicity of a blender, the tradition of the stovetop, the ease of a steam juicer, or the unique results of no-cook canning, there's a perfect way for everyone to enjoy the natural goodness of homemade grape juice. So grab those grapes, pick your method, and start enjoying this delightful drink all year round!